I seldom upgrade my gears even the gears’ new version / generation are released, instead I always skip one generation between each upgrade. That applies to my M4/3 cameras, iPhone, iPad and of course the Kindle as well. My previous Kindle is a white color Kindle 2, and I skipped the very good Kindle 3 (now the Kindle Keyboard) but waited for the Kindle Touch. So, the day Amazon made the Kindle Touch available to customers outside US like us, I ordered the fourth generation Kindle and the Lighted Leather Cover …

Without a keyboard like Kindle 2 / 3, the Kindle Touch is very small and lightweight. And with the same reason, you need to touch the screen to turn pages and change any settings … quite frankly touching the screen to action is not as easy as pressing a button in previous Kindle verions. However the E Ink display is still very good for reading.
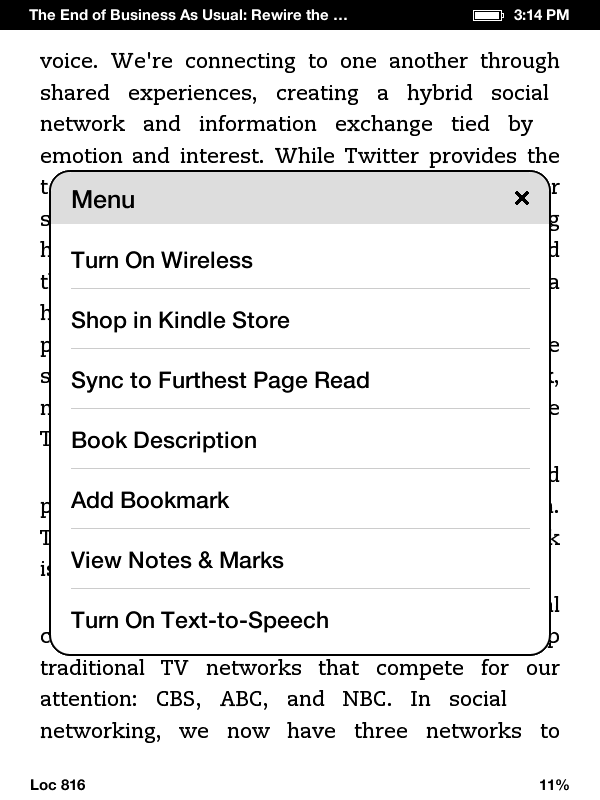
One thing I note from this latest Kindle is the menu options will change depends on what you’re doing – for example, the menu in the main homepage is different with the one while you’re reading and in the Settings screen. Anyway, first few things you need to do after you receive your Kindle Touch:
- From the home screen (the book list screen), press the Menu button in upper right, and turn on the Wi-Fi (“Turn On Wireless” option). If needed, in the same menu, select “Settings” and use the “Wi-Fi Networks” option to connect to the right Wi-Fi Access point.
- Then register your Kindle with the “Registration” option in the “Settings” screen.
- Set the password of the device, the time and personal information with the “Device Options” in the “Settings” screen.
- You can also set the social network through the “Reading Options”
- Once connected, and registered, go back to the home screen and you shall be able to download all the books to the new Kindle one by one.
I also tried the Kindle Shop (the shopping cart icon on top) and bought my first ebook for the new Kindle Touch – Likeable Social Media: How to Delight Your Customers, Create an Irresistible Brand, and Be Generally Amazing on Facebook (& Other Social Networks)
Lastly, in case you want to take some screenshots of Kindle like what I did for this blog post, all you need to do is to hold the home button for a while and then tap the screen. The screenshot in GIF format will be stored in the root directory of the Kindle where you can copy to your PC once connected via the USB cable. Hope it helps.
Enjoy !!