10 steps to migrate your iPhone 3G / 3GS to iPhone 4

So you have decided to go for the iPhone 4 after all the reviews of exciting features (if you are an Apple fanboy) and news / blogs about the antennagate (and you really don’t care). Here are the steps you need to do to migrate your trusty iPhone 3G / 3GS to the iPhone 4.

  1. Make sure your old iPhone has performed a complete backup via the iTunes
  2. If you’re using Kindle for iPhone, deregister the device (from within the application).
  3. Make sure you have Internet connection, such that iTunes can access iTunes store. Connect your new iPhone 4 to your PC running iTunes and register your new iPhone 4, with your Apple ID.
  4. Since your iPhone 4 come with iOS 4.0 only, download and install the iOS 4.0.1, thru the iTunes (so pretty much automatically)
  5. Restore the content / applications / setting from the iTunes backup image to your new phone
  6. Check all the settings to see things are in good order. Check all the email accounts / applications, by running each of the applications once and enter application-dependent password again (if neccessary).
  7. If your old phone has upgraded to iOS 4.x and you have created folders. Bad news, you have to organize the folders and applications in your new iPhone again. Somehow the restoration will migrate the folders but not moving the applications to the right folder as set up in your old phone.
  8. Install the iPhone case programĀ (program ended) application to your iPhone. Run the application with appropriate Apple ID password, and pick the case you like. For review and photos of the cases, here is a good resource.
  9. Erase the iPhone 3G content via Settings / General / Reset / “Erase all content and settings”, confirm two times and it’s done (it will take long time to finish the erase, however). Now you can pass the phone to your friends or family members.
  10. Very last step, install some good looking wallpapers like I did in the new iPhone 4:

All new Kindle – smaller, lighter, and faster

Oh, 16 months after my Kindle 2, the new generation of Kindle is announced today (Kindle 3). Available from 27th August (in over 140 countries), the new Kindle is 21 percent smaller, 17 percent lighter, more memory (4GB), better battery life (up to a month without wireless) and equiped with a better contrast, 20 percent faster refresh rate on its screen. Same as the DX, now it comes in two colors (graphite, and white). Unlike the Kindle 2, there will be two connection / pricing configurations: a $139 WiFi only version, and a $189 3G version (I guess it’s the same for International version). The screen however will remain the same 6-inch size.

From the look of this new device, the most notable change is the relocation of the direction pad to next to the keyboard. I bet the keyboard is still very difficult to use, however. Software-wise, the big thing to me is the enhanced PDF Reader – with dictionary lookup, notes, and highlights. Lastly, a new WebKit-Based browser, that I really want to try out.

So, how the new one compares to the Kindle 2, side by side ?

Kindle differences
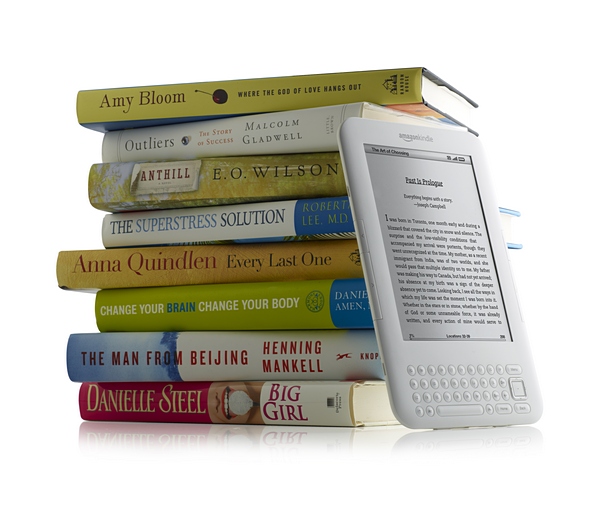
Some more pictures of the new Kindle:

Kindle platform now includes Android and adds audio, video

Competition is good, I guess. The success of Apple iPad makes Amazon works harder and harder to roll out new and exciting stuff. One of the key advantages of Kindle “platform” is you can access your Kindle library anywhere and have your reading synchronized across Kindle devices and multiple smartphones. And this platform compose of Kindle 2, Kindle 3,Ā  Kindle DX, BlackBerry, iPad, iPhone, iPod touch, Mac, PC, and now Android-powered phones.

As far as I can tell, the features in this Kindle for Andriod is more or less the same as other devices’ applications. However, the screen that shows your book library looks a little bit different.

Android kindle 1Android kindle 2

Another exciting news is the embedded video and audio clips in Kindle books on iPad, iPhone, and iPod touch. Not as crazy as the Alice for the iPad I bet, but still it is the right direction to introduce multimedia to ebooks. Since it is the new new stuff, I just checked and there are only 13 ebooks with audio / video in US store and only 7 available in Asia store.

Kindle audio-video

User experience of purchasing a subway ticket

No, I am not talking about purchasing a ticket of the subway in Hong Kong, as you know the system and the vending machines here are really among the best in the world. Instead, I would like to share with you from the experience I had in the Washington DC trip last month.

In fact, I am not the only one get frustrated by the subway ticketing system (they call it “Metro”), there is even a presentation prepared on why there is a need to redesign the Metro ticket vending machine. Following is a picture of the vending machine and according to the official site of Metro, you need to follow these steps to purchase a ticket (they call it farecard):

To buy farecard, you need to:

  1. Select B (single farecard) or C (multiple farecards). If buying more than one, select the quantity you want.
  2. Use the (+) or (-) button to choose the value.
  3. Press C to view your selection.
  4. Press C again to confirm your selection.
  5. Insert money and/or farecard.

Please note that the buttons “A”, “B”, “C” are the tiny buttons next to the big orange color circle labeled “1”. In fact before step 1, you need to search around the ticketing lobby to find the up-to-date map / poster for the correct fare, also check the time as the fare is based on the time of day (!!) and destination.

And for step 2, instead of key in the fare amount (the vending machine is not that smart …), you have to use the (+) and (-) buttons to choose the dollars AND the cents – yes there are two (+) buttons and two (-) buttons underneath the tiny screen in the middle, one for the dollar amount and one for cent amount.

And can you see how confusing of step 5 ? In summary, very very poor user interface and therefore user experience of just buying a cheap subway ticket !!

And talking about User Experience, how can you miss the UX Conference in Hong Kong (UXHK) early next year ? Check out the office site – www.uxhongkong.com for details and register now. Great stuff !!

[flickrvideo]http://www.flickr.com/photos/szuc/4726544193/[/flickrvideo]

Gmail is getting full, what to do next ?

Six years after using Gmail, my Gmail is getting full … according to the line in the footer of Gmail, I have only 400 MB of free space.

You are currently using 7003 MB (93%) of your 7467 MB.

So, how can I delete the large emails from Gmail ? In other words, how can I delete the large attachments ? Unfortunately, you cannot sort your emails in Gmail by mail size, and you cannot filter the large emails from your inbox as well (so much for a software from the search giant …). I searched the net and the Gmail help center for a few days, and concluded that there are many people have the same problem, but there is no solution from Gmail.

I guess some solutions are on the way from Google but not much time I can wait. I have tried the IMAPsize but it is just too unstable. So I finally settled with the only possible way – use an email client to download the mails from Gmail via IMAP, and manage the large mails from there.

I decided to use Thunderbird and here are the steps …

  1. Download and install Thurderbird – it is straightforward;
  2. First-time start up will ask for your email login information – enter your Gmail email address and the password, Thunderbird will then smart enough to detect the correct IMAP and SMTP server names and ports.
  3. Thunderbird will next start downloading the message headers to your PC. In my case it took a few minutes for over 40,000 emails.
  4. The default view of Thunderbird will not show the email size, add the email size column by clicking the “column” icon in the upper right corner (see the picture below).
  5. Now you can sort the emails by size and determine which emails you want to delete.
  6. Since the Thunderbird only download the message header but not the content, if you want to check the content before you delete the mail then you can click the connection icon in the lower right corner such that it can download the emails (see the picture below). But of course, it will take some time and use up your computer disk space if you have many emails like me.
  7. Now your selected mails are deleted, but those are actually moved to Gmail Trash folder only.
  8. So, logon to your Gmail again, go to the Trash folder and empty it to reclaim the space.

About an hour later, I reclaimed some 600 MB of space already. Not bad !!

Update 1: After some of these exercises, I decided to give myself a break / treat – just purchased 20 GB additional storage for US$ 5 a year. No more worry …